Snap Layouts is a convenient feature on Windows 11 that allows you to quickly and neatly arrange application windows. However, by default, many devices only display basic layouts (e.g., split screen). To make the most of your screen space and work more efficiently, you can enable and customize the advanced Snap Layouts.
Check if Snap Layouts is already enabled
Before enabling Snap Layouts, check if it’s already activated:
- Hover over the Maximize button (the square button in the top-right corner of an app window).
- If you see several layout options (e.g., split screen, side-by-side), it means Snap Layouts is enabled.
- If you don’t see these options, you’ll need to enable it in the Settings.
Method 1: Enable Snap Layouts in Settings
To enable Snap Layouts in Windows Settings, follow these steps:
- Open Settings using the keyboard shortcut Win + I.
- Go to System and select Multitasking.
- You’ll find a switch called Snap windows. Toggle this on.
- Once enabled, you can click the drop-down arrow next to it to access additional options, such as:
- Show layout when I hover over the Maximize button: Displays layout options when you hover over the Maximize button.
- Show suggestions when I drag a window to the edge of the screen: Displays layout suggestions when you drag a window to the edge of the screen.
- Allow resizing snap areas: Enables resizing the areas where windows can “snap” to.
Note: If Snap windows is turned off, you won’t see any layout options, even when hovering over the Maximize button.
Method 2: Enable Advanced Snap Layouts via PowerToys
For more complex layouts (e.g., dividing your screen into more regions such as 3, 4, or more), you can use PowerToys, a tool from Microsoft that provides enhanced customization for Windows.
- Download and install PowerToys from Microsoft’s official GitHub page.
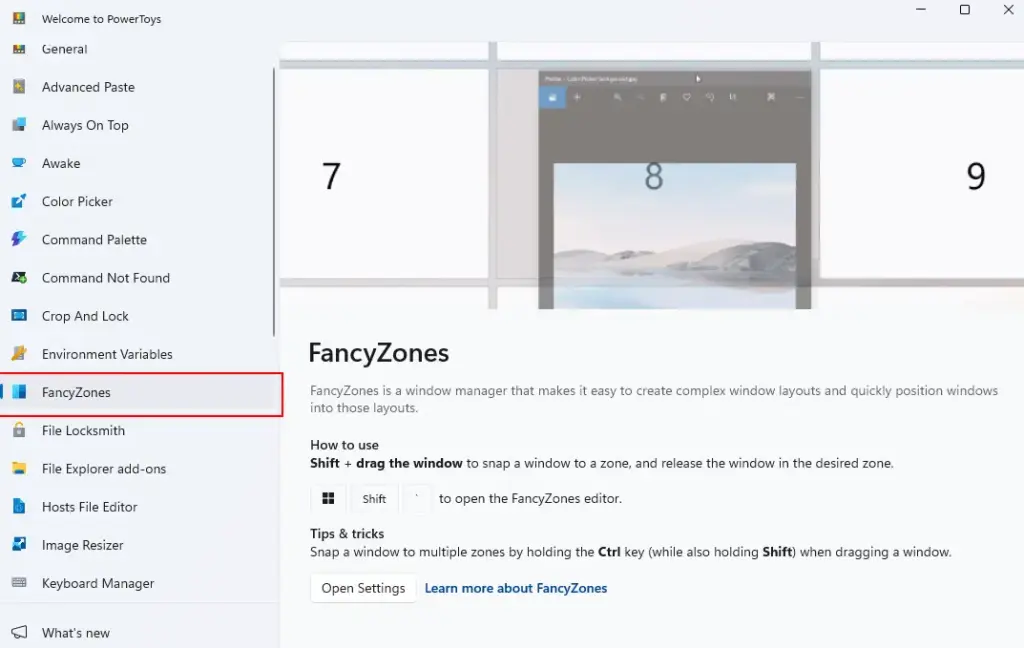
- Open PowerToys after installation and select FancyZones from the left-hand menu.
- Turn on Enable FancyZones to activate the feature.
- Click Launch layout editor to open a window where you can create and modify custom window layouts.
- Divide your screen into multiple zones (3 to 6 or more). You can then drag and drop windows into these zones to organize them.
- Save your layout configuration and apply it to multiple screens if necessary.

Tip: FancyZones also allows you to save multiple layout configurations, which is great for working with different types of applications or using ultra-wide monitors.
When to use Advanced Snap Layouts
Advanced Snap Layouts are especially useful when you need to manage multiple applications at once. Consider using them in the following scenarios:
- Multitasking: Helps you arrange applications like Word, Excel, Browsers, Teams, etc., in an organized and efficient manner.
- Large or 4K Monitors: With high-resolution screens, Snap Layouts helps you utilize the screen space more effectively.
- Create fixed layouts for different needs: You can set up different layouts for work, study, or entertainment.
Advanced Snap Layouts in Windows 11 can significantly improve your workflow, especially when paired with PowerToys’ FancyZones. You’ll be able to arrange your application windows in a neat and organized way, reducing distractions and boosting multitasking productivity.