WSL2 on Windows 11 is a huge step up from the version on Windows 10. No more jumping through hoops with manual installs, kernel hunting, or flipping system features one by one. It’s all streamlined through the Microsoft Store — letting you run a legit Linux environment right inside Windows, with near-native performance.
What is WSL2?
WSL2 (Windows Subsystem for Linux, version 2) is a real Linux runtime built into Windows. It uses a genuine Linux kernel maintained by Microsoft, which means you can:
- Run Linux command-line tools (Bash, SSH, apt, etc.)
- Compile and run software like you would on any standard Linux box
- Work directly with Docker, Node.js, Python, Git, and more
No need for a virtual machine, no dual booting, no reboots. It’s become a go-to setup for devs, DevOps engineers, and CS students who want a smooth workflow on Windows without leaving behind Linux power.
System Requirements
✅ Any edition of Windows 11 (Home, Pro, Education…)
✅ Virtualization (VT-x or AMD-V) enabled in BIOS/UEFI
✅ Internet connection (for pulling components from the Store)
Quick Compatibility Check
Check your Windows version
Hit Win + R → type winver
You’ll need to be on build 22000 or later. If not, head over to:
Settings > Update & Security > Windows Update to bring it up to speed.
Check if virtualization is enabled
WSL2 runs on hardware virtualization. If virtualization is off, WSL2 won’t work — even if everything else is perfect.
See: 🔗 Check if Virtualization is Enabled/Disabled
If Virtualization is disabled, you can refer to the following guides to enable it from the BIOS:
– Enable VT on ASUS
– Enable VT on Lenovo
– Enable VT on HP
– Enable VT on Dell
If it’s off, you’ll likely hit error 0x80370114 when trying to launch WSL2.
Installing WSL2 via Microsoft Store
Step 1 – Enable WSL2 from Command Line
Search for PowerShell, right-click → Run as Administrator, then run:
wsl --install --no-distributionThis command takes care of the groundwork:
- Enables required system features: Windows Subsystem for Linux and Virtual Machine Platform
- Installs the Microsoft-provided Linux kernel
- Sets WSL2 as the default version for future distros
📝 Note: This doesn’t install any Linux distro yet — we’ll handle that in the next step.
Step 2 – Install Your Favorite Linux Distro
Head over to the Microsoft Store, search and pick any distro you like:
- Ubuntu
- Debian
- Kali Linux
- AlmaLinux
- openSUSE, Alpine, Fedora Remix, and more
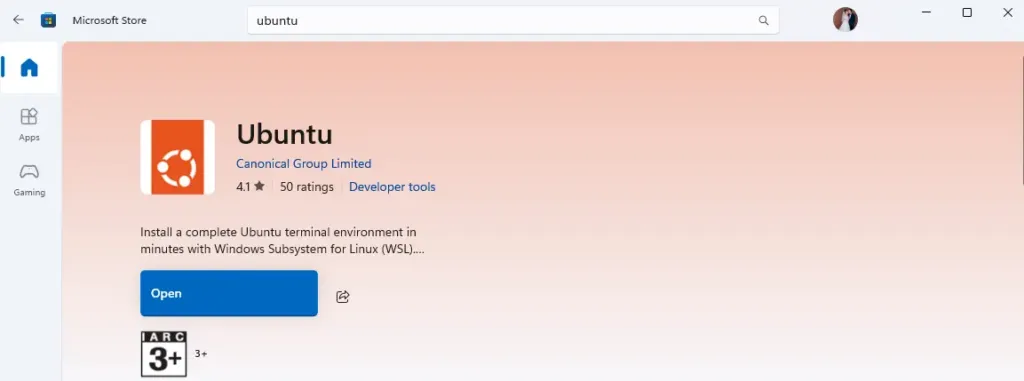
Click Install — just like grabbing any app.
Note: If your Microsoft Store shows the error “Error encountered – One of the update services is not running properly,” it’s because Windows Update is disabled. To use the Store, you need to enable Windows Update.
Press Windows + R → type services.msc → find Windows Update → right-click and select Properties → set Startup type to Automatic or Manual.
Step 3 – First Launch
Hit Start, type in the name of the distro you installed (e.g., Debian), and launch it.
On first run, it’ll take a minute or two to set up the Linux file system — pretty snappy. You’ll then be prompted to create a username and password for the Linux environment.
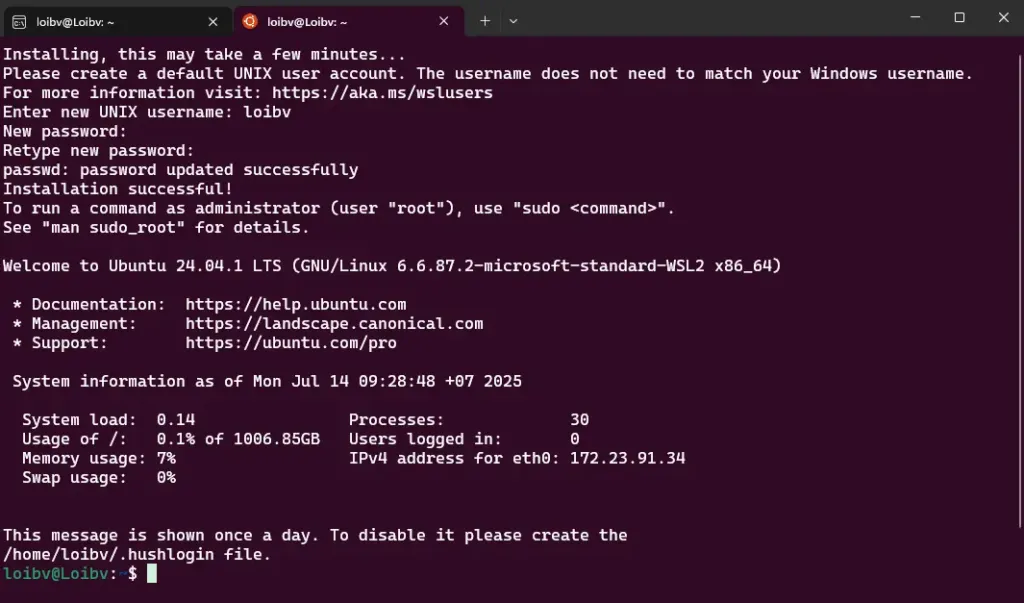
Boom — you’re now running a full Linux environment powered by WSL2, right inside Windows.
How to Verify WSL is Running Correctly
Open PowerShell or CMD, run:
wsl --list --verboseOutput should look something like:
NAME      STATE           VERSION
Debian    Running         2
If VERSION = 2 → WSL2 is working as intended
If STATE = Stopped → No biggie, it’s just paused
Useful Commands Post-Install
# Update all packages
sudo apt update && sudo apt upgrade

# Set default distro if you installed multiple
wsl --set-default Ubuntu

# Launch a specific distro
wsl -d Debian
WSL2 on Windows 11 is no longer some nerd-only feature buried in the system. It’s a modern, flexible extension of the OS — perfect if all you want is a lightweight, fast, Linux terminal without spinning up a VM.
Whether you’re building, scripting, or just tinkering, this setup is clean, fast, and hassle-free. For devs, it’s a legit part of the modern Windows toolkit.