How to block users and bots from accessing your server directly via IP address, helping enhance security, reduce DDoS attacks, and restrict unauthorized access outside the main domain.
Step 1: Create a New Nginx Configuration File
Log in to your server via SSH and create a new configuration file, for instance block_direct_access_ip.conf.
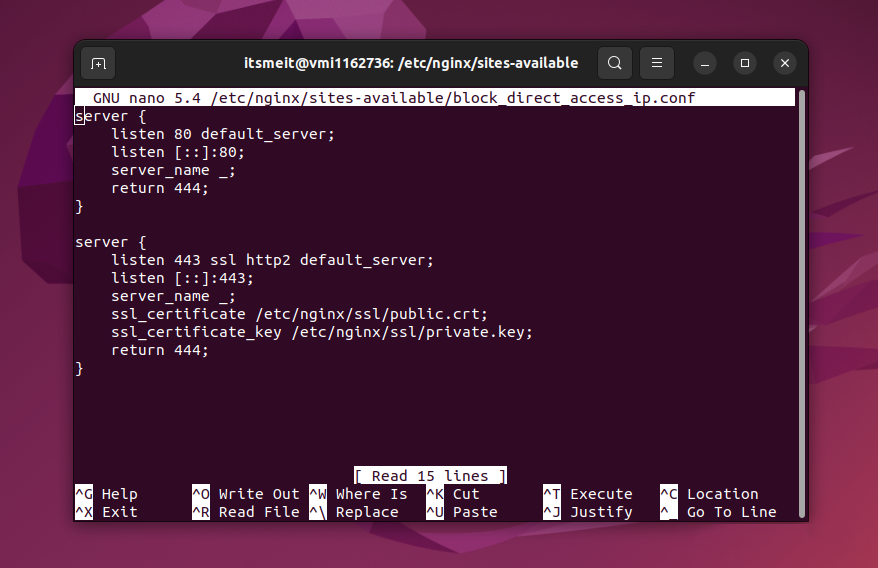
sudo nano /etc/nginx/sites-available/block_direct_access_ip.confAdd the following content to the file:
server {
    listen 80 default_server;
    listen [::]:80;
    server_name _;
    return 444;
}

server {
    listen 443 ssl http2 default_server;
    listen [::]:443;
    server_name _;
    ssl_certificate /etc/nginx/ssl/public.crt;
    ssl_certificate_key /etc/nginx/ssl/private.key;
    return 444;
}
Explanation:
- The configuration listens on both HTTP and HTTPS ports and blocks any direct access by IP address by returning the HTTP status code
444(which Nginx uses to terminate the connection without responding). - The configuration also sets up SSL, ensuring that even HTTPS access is blocked unless it’s via the official domain.
Step 2: Generate SSL Certificates for HTTPS Authentication
For the above configuration to work properly, you need to have SSL certificates (public.crt and private.key). If you don’t have SSL certificates, you can generate them using the following command:
sudo openssl req -x509 -nodes -days 365 -newkey rsa:2048 -keyout /etc/nginx/ssl/private.key -out /etc/nginx/ssl/public.crtAlternatively, you can use Certbot to automatically generate SSL certificates for your domain. Certbot provides an easy way to configure and manage SSL certificates with Nginx.
Step 3: Link the New Configuration and Restart Nginx
Now, link the new configuration file to Nginx and restart the service to apply the changes:
sudo ln -s /etc/nginx/sites-available/block_direct_access_ip.conf /etc/nginx/sites-enabled/;
sudo service nginx restart
Test the Configuration
After applying these changes, try entering your server’s IP address directly into the browser. You should receive an error message instead of being able to access the website. This indicates that the direct IP access has been successfully blocked.